Once a gardener....always a gardener?
by Kimberley Thompson, Tastemaker in Residence
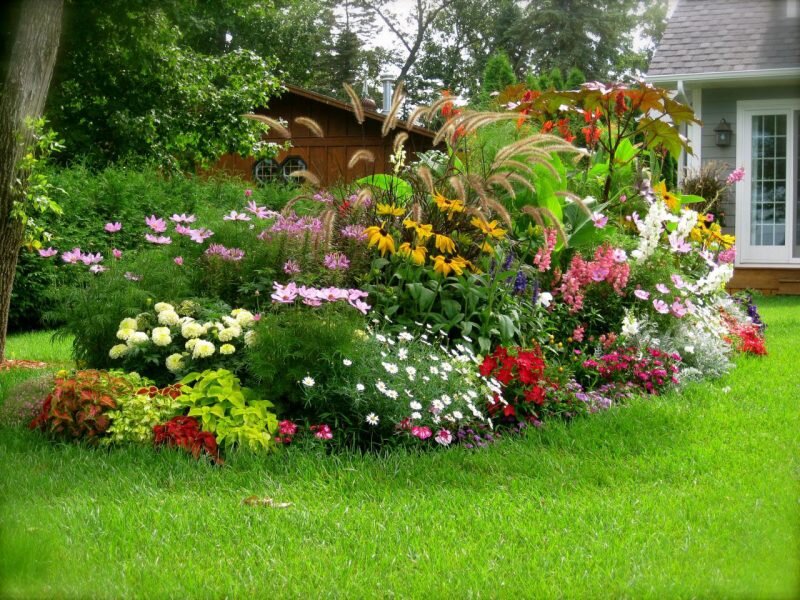
As with all aspects of my life, I have experienced "stages" of gardening interest. There have been the run-the-other-direction years (usually as a child, but not always), the no interest decade, and the "they are nice, but too much work" stage. The "Ooooo, so pretty! I can do that" years followed the too much work period which turned rapidly into the "there's a greenhouse, I'm turning in," decade. And the winter time "plotting" with numerous garden magazines season has always started my New Years...but not necessarily put into practice
Covid 19 forced 2020 and the start of this year to really be FOCUSED on my gardens...I could only read so many books or watch zoom or virtual events! But getting back to my neglected gardens of the last decade made me dig up some rusty gardening tips stuck in the cobwebby corners of my mind. Tips from Grandma Ruth, my Mom and dear friends. In the fine tradition of all gardeners, I am driven to share! (Any one want some Monarda plants? Obedient plants?)
The first thing to do is prepare where your plants, bulbs or seeds are going to go.
Double dig your beds. Yes, it takes extra time and energy, but your strong, well-rooted plants will thank you with extra vigorous growth! This is especially important with dahlia bulbs. In fact, my Mom AND Grandmother both double dug the soil in the dahlia beds. They dug 8" holes, put compost in the bottom of the hole, laid down the bulb and just covered it with 2 inches of soil. (Your bed will look like a lunar landscape) After you notice the dahlias peeping though the surface by 1/2 inch, put 2" more soil on the top of the sprouts. You can repeat this step one more time until your garden surface is level again. Grandma always said this gave her dahlias deep strong roots to balance those stunning heavy blooms.
News paper is wonderful FREE mulch! Yes, there is a bit more labor, but you will have a weed free garden bed for 2 or 3 years. When those years are up, just till the newspapers in and re-mulch with more paper. Nothing to haul off and dispose of in the trash. Plus, it is easy to cut thru when you decided to tuck "just one more plant" into the garden! I made the mistake of using plastic sheeting once. Never again. Talk about sterile dead ground underneath the impermeable barrier. Under my newspaper, the rich soil is an earthworm haven!
Use 5 to 7 sheets, be generous. I hold mine down with big "staple" made from the shoulders of wire hangers. Just take a rainy afternoon and cut yourself a bunch; you will get 2 from each hanger. Cut on both sides of the twisted neck and in the middle of the straight part that holds trousers. They push through the newspaper easily, holding it down against the wind; and are reusable for years. Cover your newspaper with whatever you decide to use: bark, grass clippings, wood chips or shreds, etc.
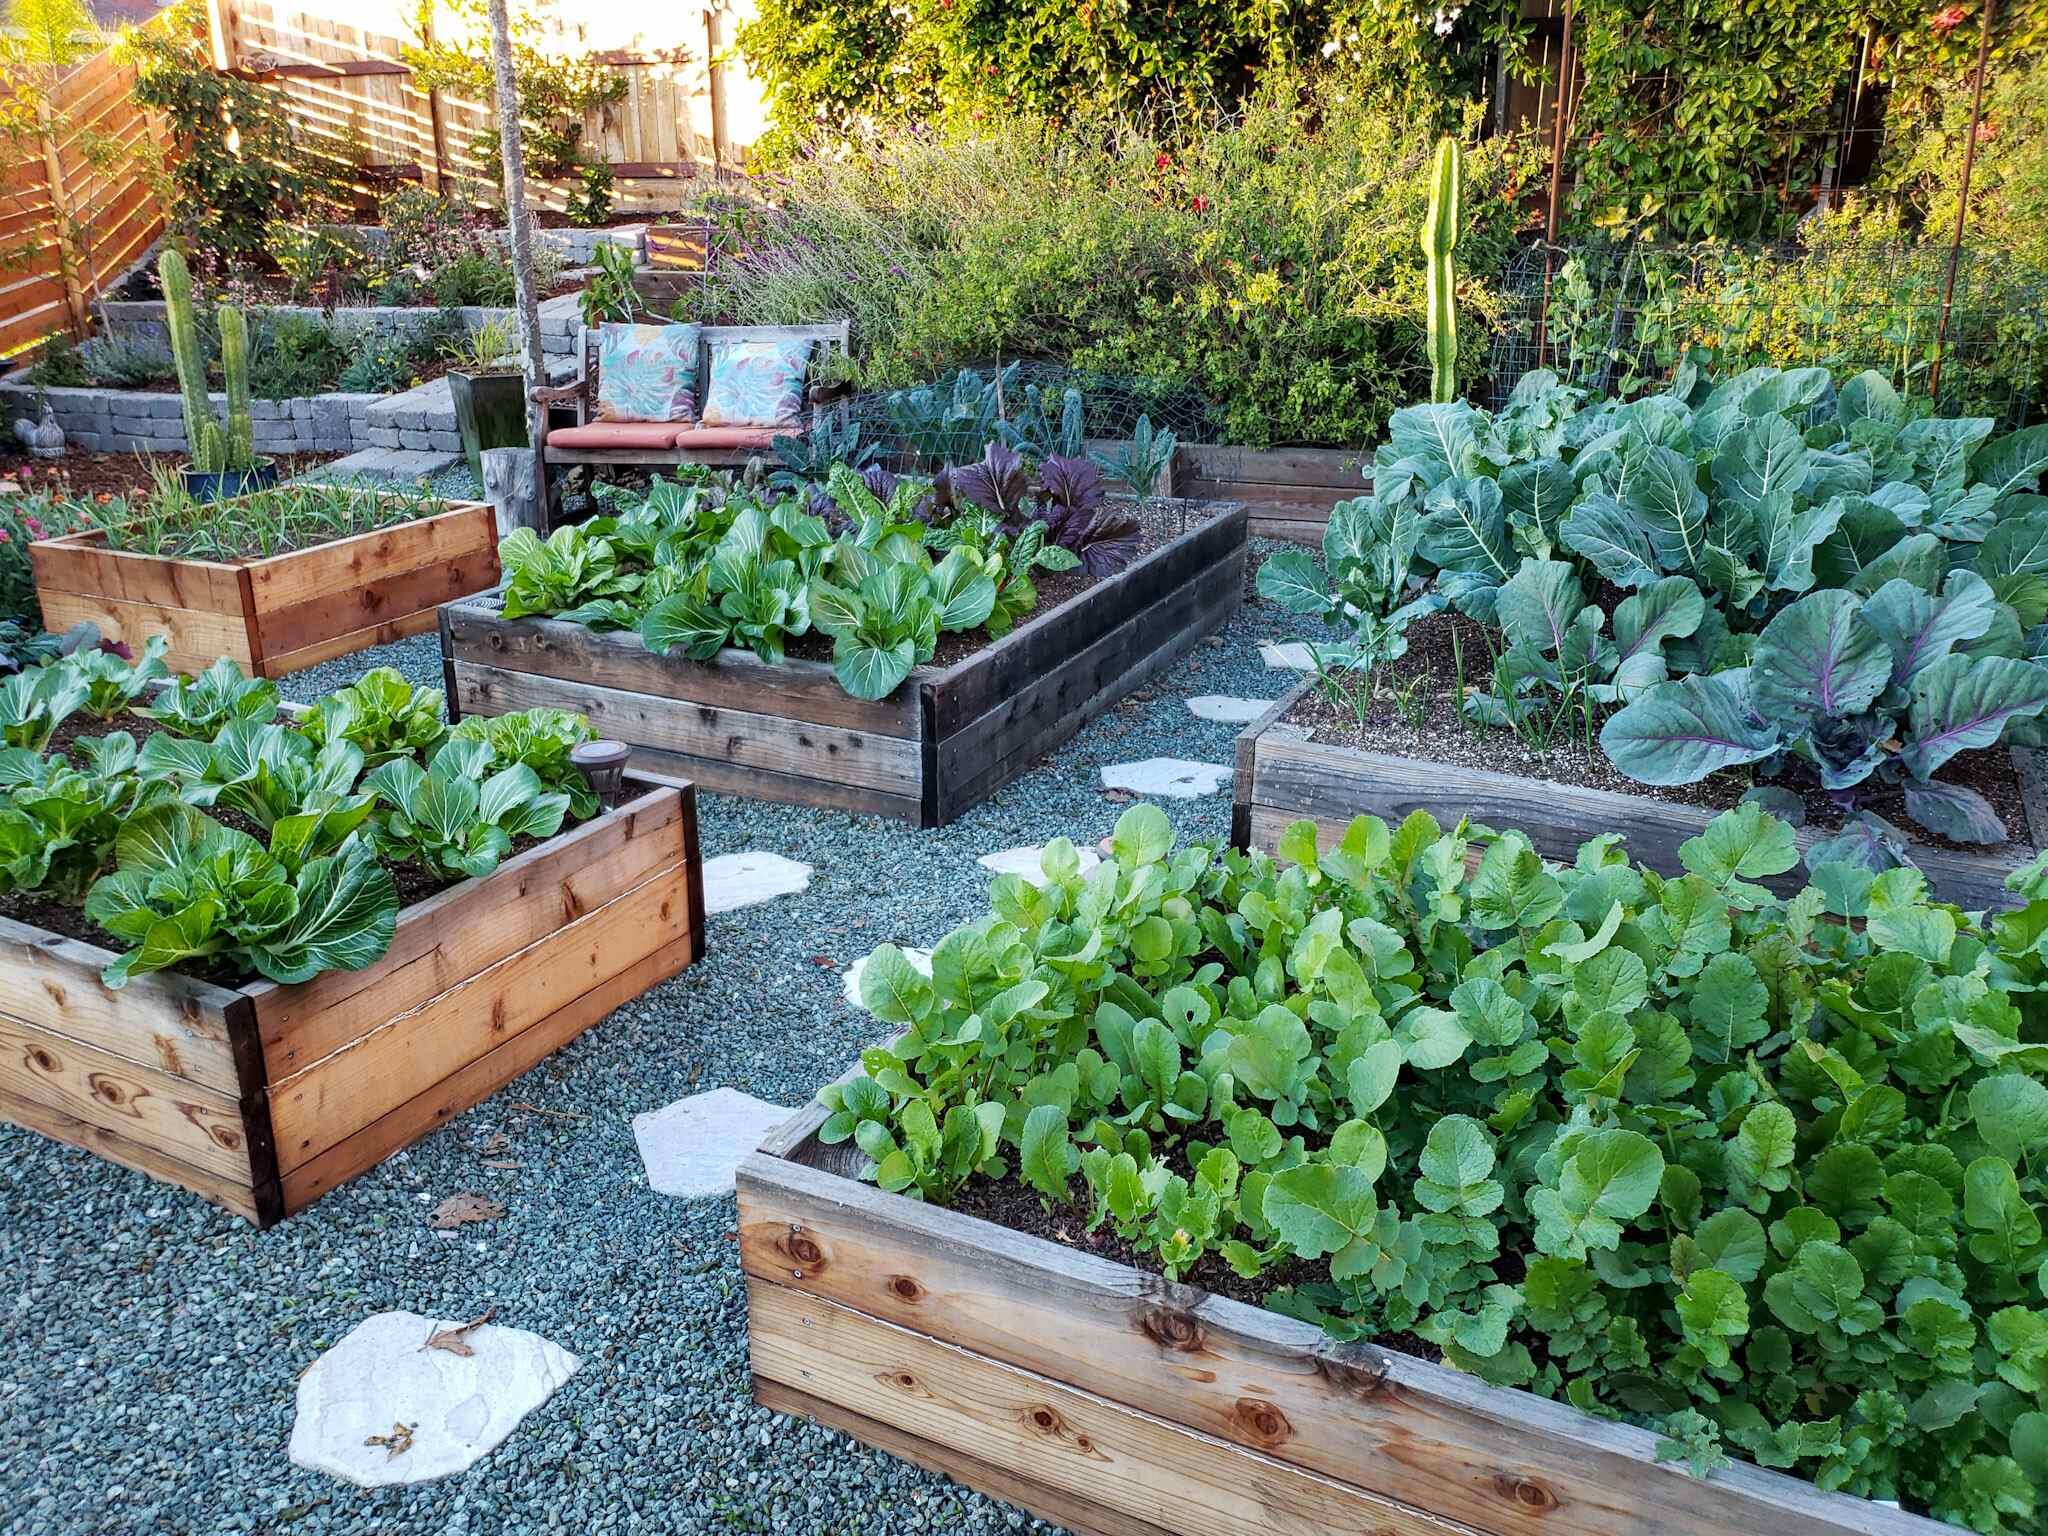
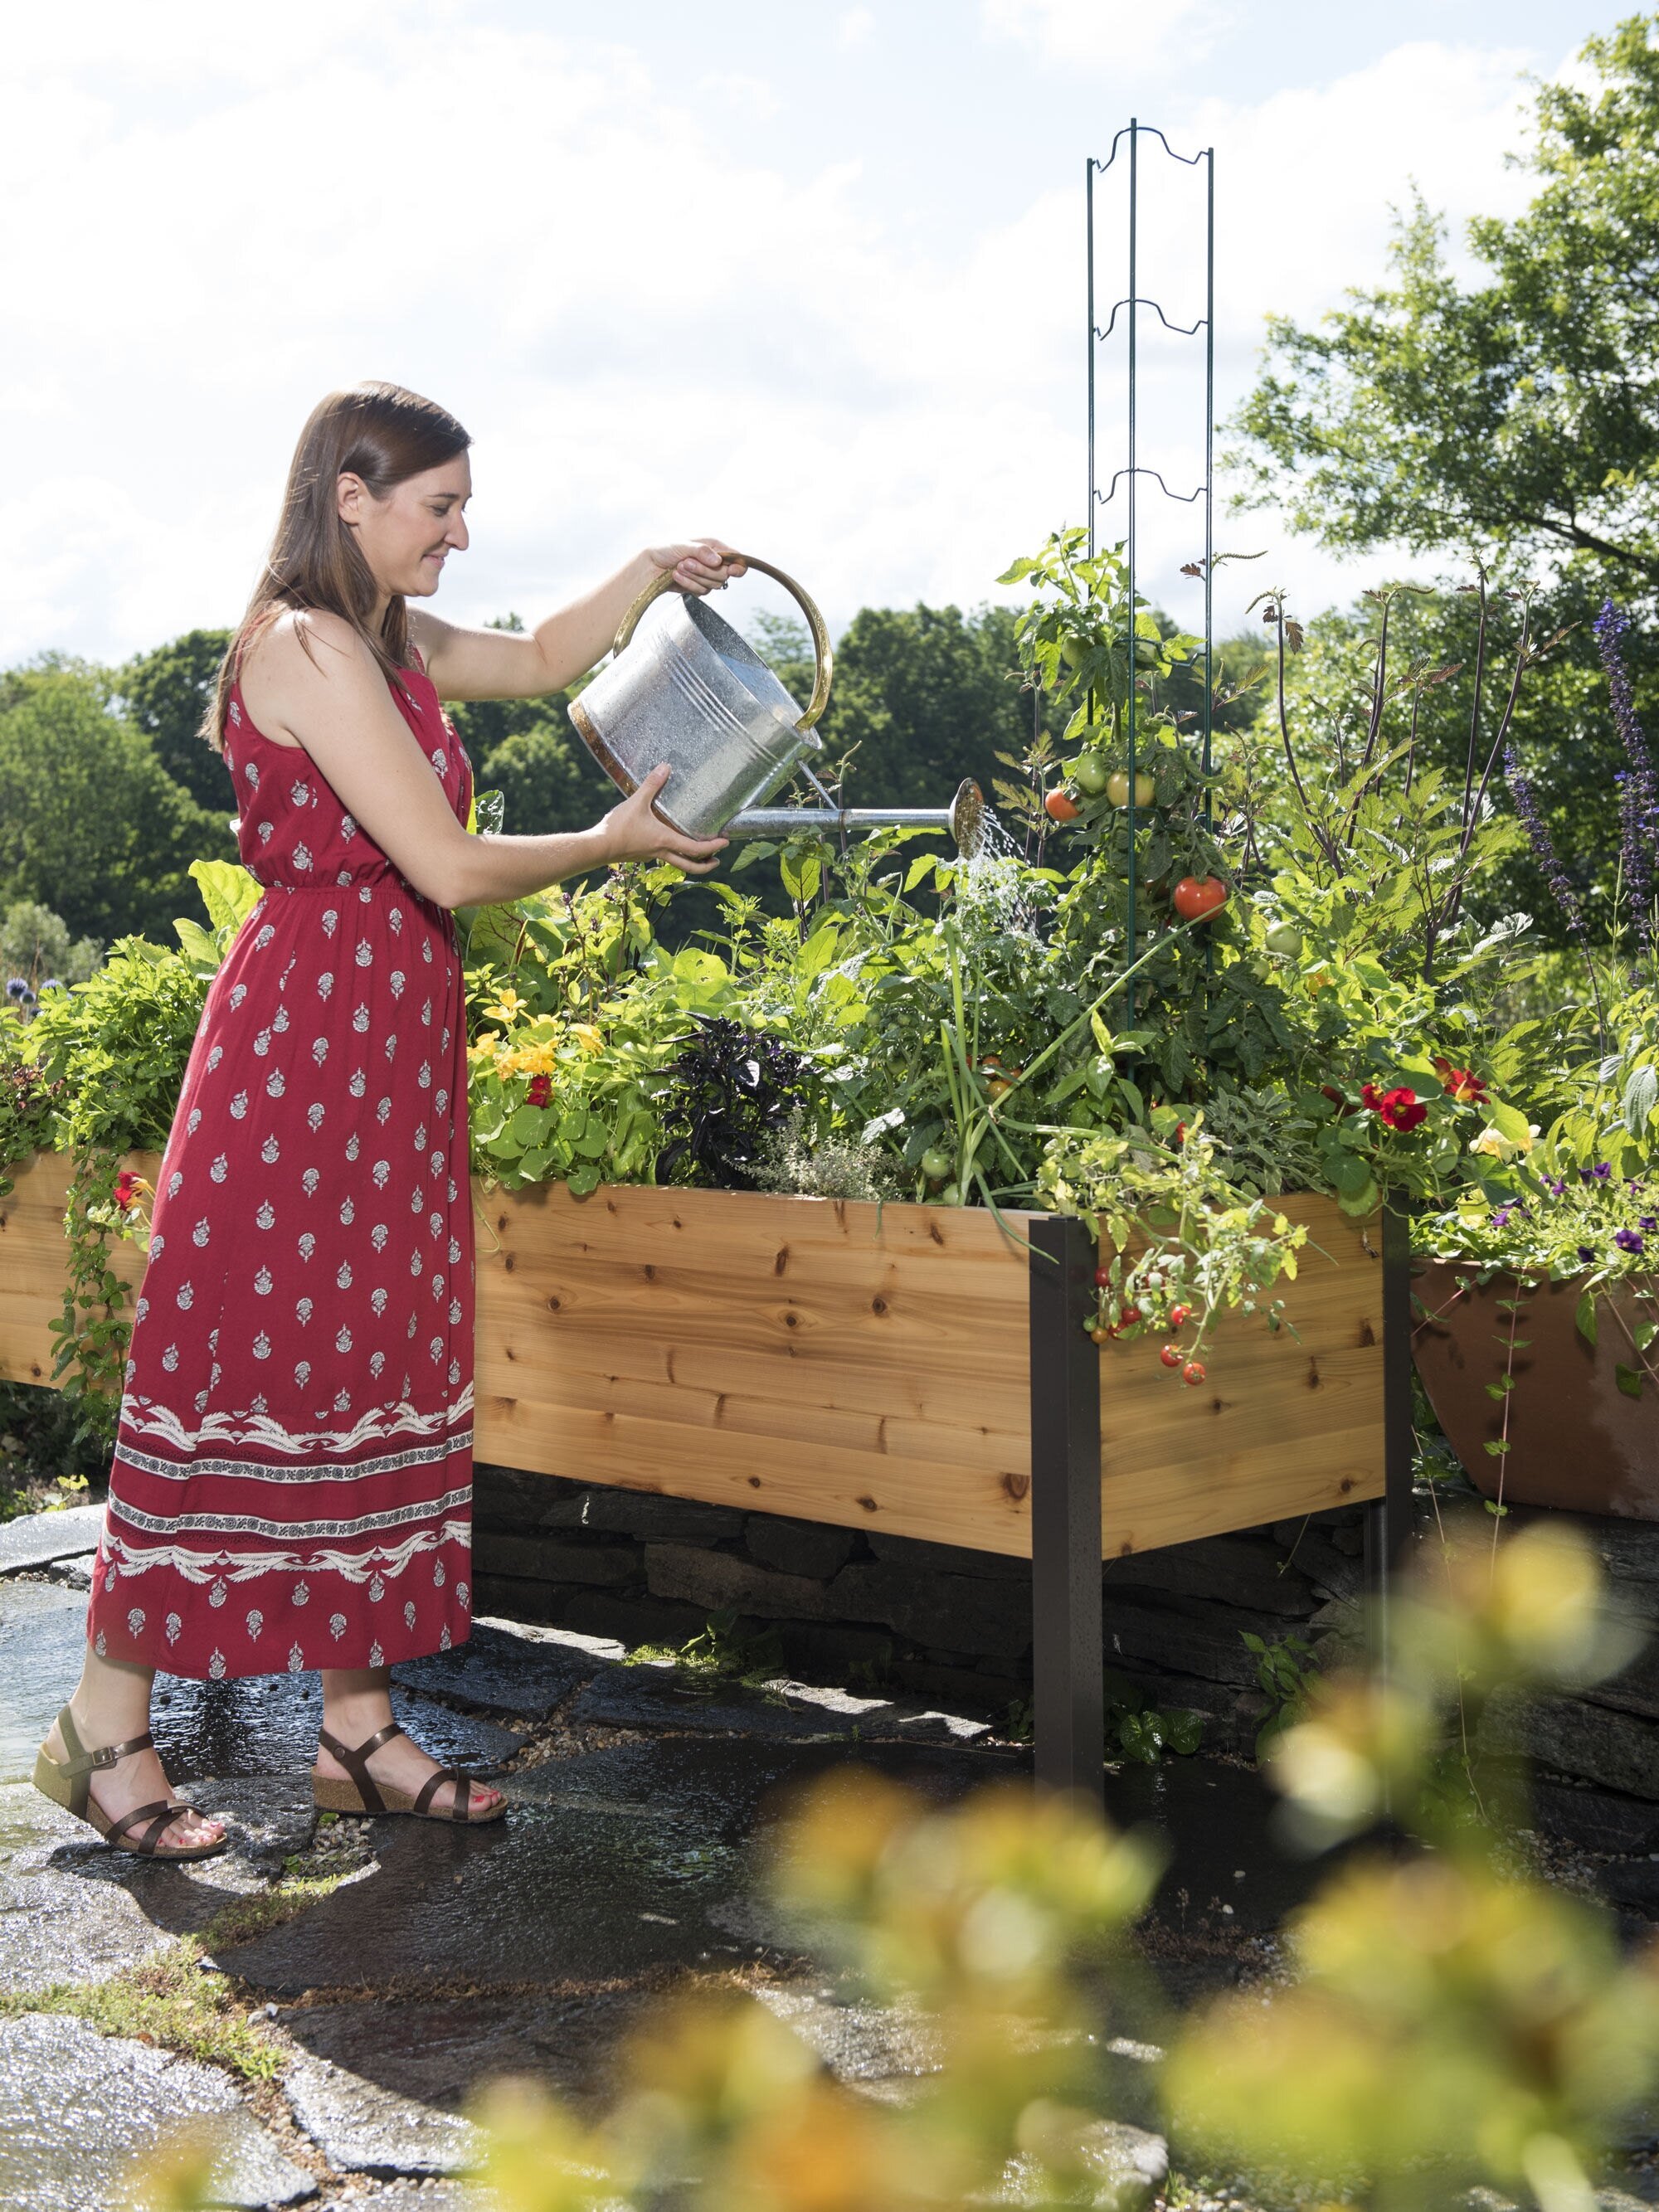
For your planters; it is worth the time to put something in the bottom to create air pockets for good drainage, and something to keep your soil from washing out the bottom of the pot every time you water. Break up your old clay pots or use crushed soda cans in the bottom of the planter. Over the top, either lay down coffee filters to catch the dirt, or if using a bigger pot, use a single layer of a burlap coffee bean sack. (My local Dunn Bros sells them for $1.00 each! A great buy!) After they are in, put your dirt in the container and plant!
Try to time the planting of your purchased plants and seeds the same day that rain is predicted. The rain sets the soil nicely for germination and pushes soil into areas that you may not have realized were not filled in completely around the root ball.
Weeding is easier just after a rain when the ground is soft. Grasses pull completely; roots and all. Sometimes if you are pulling weeds that spread by their roots underground; you can be more successful as more of the roots come out of soft soil. If you are not pulling by hand, wet or damp soil is easier to scuffle the surface with a three-tine cultivator (or in my garden, a hand scratch-er!) to kill off little weeds.
Kill bugs with a homemade solution of 1 TBSP Castile liquid soap (do NOT use dish washing soap with all its additives!), 2-3 drops lemon essential oil and 1 quart of water in a spray bottle. Shake before each use, and reapply after a rain.
One of my favorite uses for the paper tubes from all the horded TP; make DYI effective seed pots! Take each tube and cut 1.5 inches up one end; doing it 4 times evenly spaced. Fold the ends up, forming a closed end. Take a flat bottom plastic storage container and stand all the little "pots" on end and fill with fresh potting soil. Put enough pots in so they are tight enough to stay upright. Plant your seeds. Heavily mist soil. Place in sunny window or under grow lights. Water occasionally until the seeds sprout, then water as needed to maintain healthy growth. Once it consistently is warm enough and the seedlings strong; take outside to plant. Have your soil ready and the holes dug. Open the ends of each pot to let the roots pass through. I actually flap them so they are totally out towards the sides of the hole. Hold the pots as you fill the soil back in around the pots. Water and you are good to go! Thanks to Bob Vila for this tip many years ago!
Tomato plants do grow better with Epsom Salts sprinkled in the hole where they are planted; just a TBSP sprinkled in makes for a sturdy, healthy plant! Sometimes I even sprinkle some on the top of the soil around the stem after they have been planted for a week or two. Old gardener's tale or not, it works!
Dead head for 15 minutes a day...you will be richly rewarded by an extended bloom time! I dead head when I get home from work. I drop off my purse and grab my little garden shears (I love the ones from Beisswenger's Hardware!). I set my phone's timer for 15 minutes; happily snipping the dead and fading blossoms, dropping them into a little bucket that I keep with my shears. When the timer buzzes, I stop, empty the bucket and go inside to my other nightly chores. Just a quick pause from work's hustle to the bustle of keeping up a house.
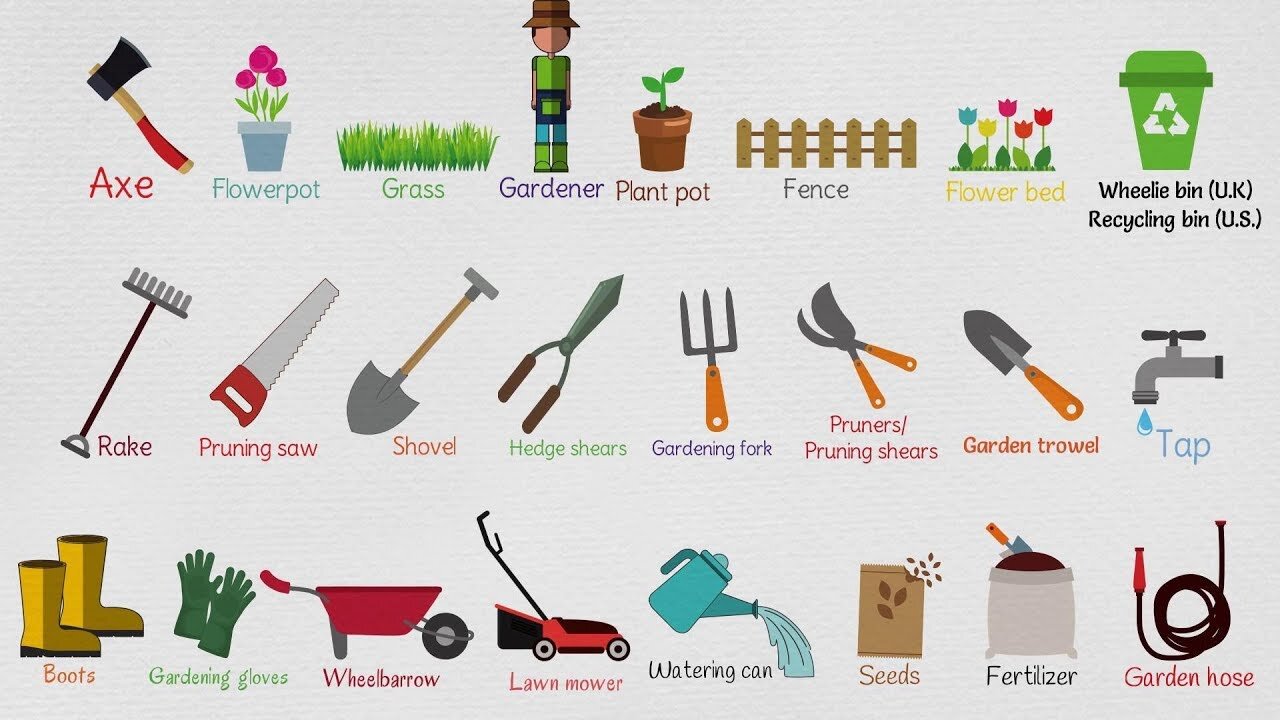
Take care of your tools each and every time! I learned this lesson the hard way. I just left tools leaning in the garden or put them away with dirt clods attached; until I realized I was having to replace those tools faster than I wanted! (Amen...I want to spend my money on plants...not TOOLS!) Take a large galvanized bucket and fill 2/3's of the way full with clean coarse sand. Pour one 16 ounce bottle of mineral oil over the sand and mix. Each time after you use your tools, brush the dirt off and plunge them in and out of the oiled sand several times. This will prevent your tools from rusting! (Also, store your shovels with the heads pointed up to keep them sharp longer!)
Enjoy your garden time; whether in pots, small raised beds or larger plots. The rewards are greater than fresh flowers and juicy tomatoes! Zen truly is found in a garden!